
I’ve been meaning to build a passive DI box for sometime, I have a couple of active ones and it’s nice to have an alternative. Also, I recently bought a Korg Minilogue and figured a good quality passive DI would be a good match.
Passive DI’s are very simple, they are essentially a step down transformer used to bridge the high impedance output of an instrument to the lower impedance input of a mic preamp, as well as to convert from an unbalanced to balanced signal. As they are based on a transformer, the performance of the DI box is pretty much uniquely governed by the transformer, and good quality transformers aren’t cheap. There are a number of high quality DI boxes out there, such as the Radial JDI, but being a DIY fiend and a slight cheapskate, I thought I could have a go at making one, how difficult (and expensive) could it be?
There are a few great posts giving instructions on building a DI box from scratch, but what I noticed was that as you get all the parts together, the bill of materials creeps up and the cost benefit of doing it yourself becomes less attractive. Now, cost is not the only reason why I build things, in fact, those EZ1290 preamps ended up costing me way more than I expected (they were a labour of love), but frankly, if I can build 2 good quality DI boxes for the price of buying one, then that’s worth the effort for me.
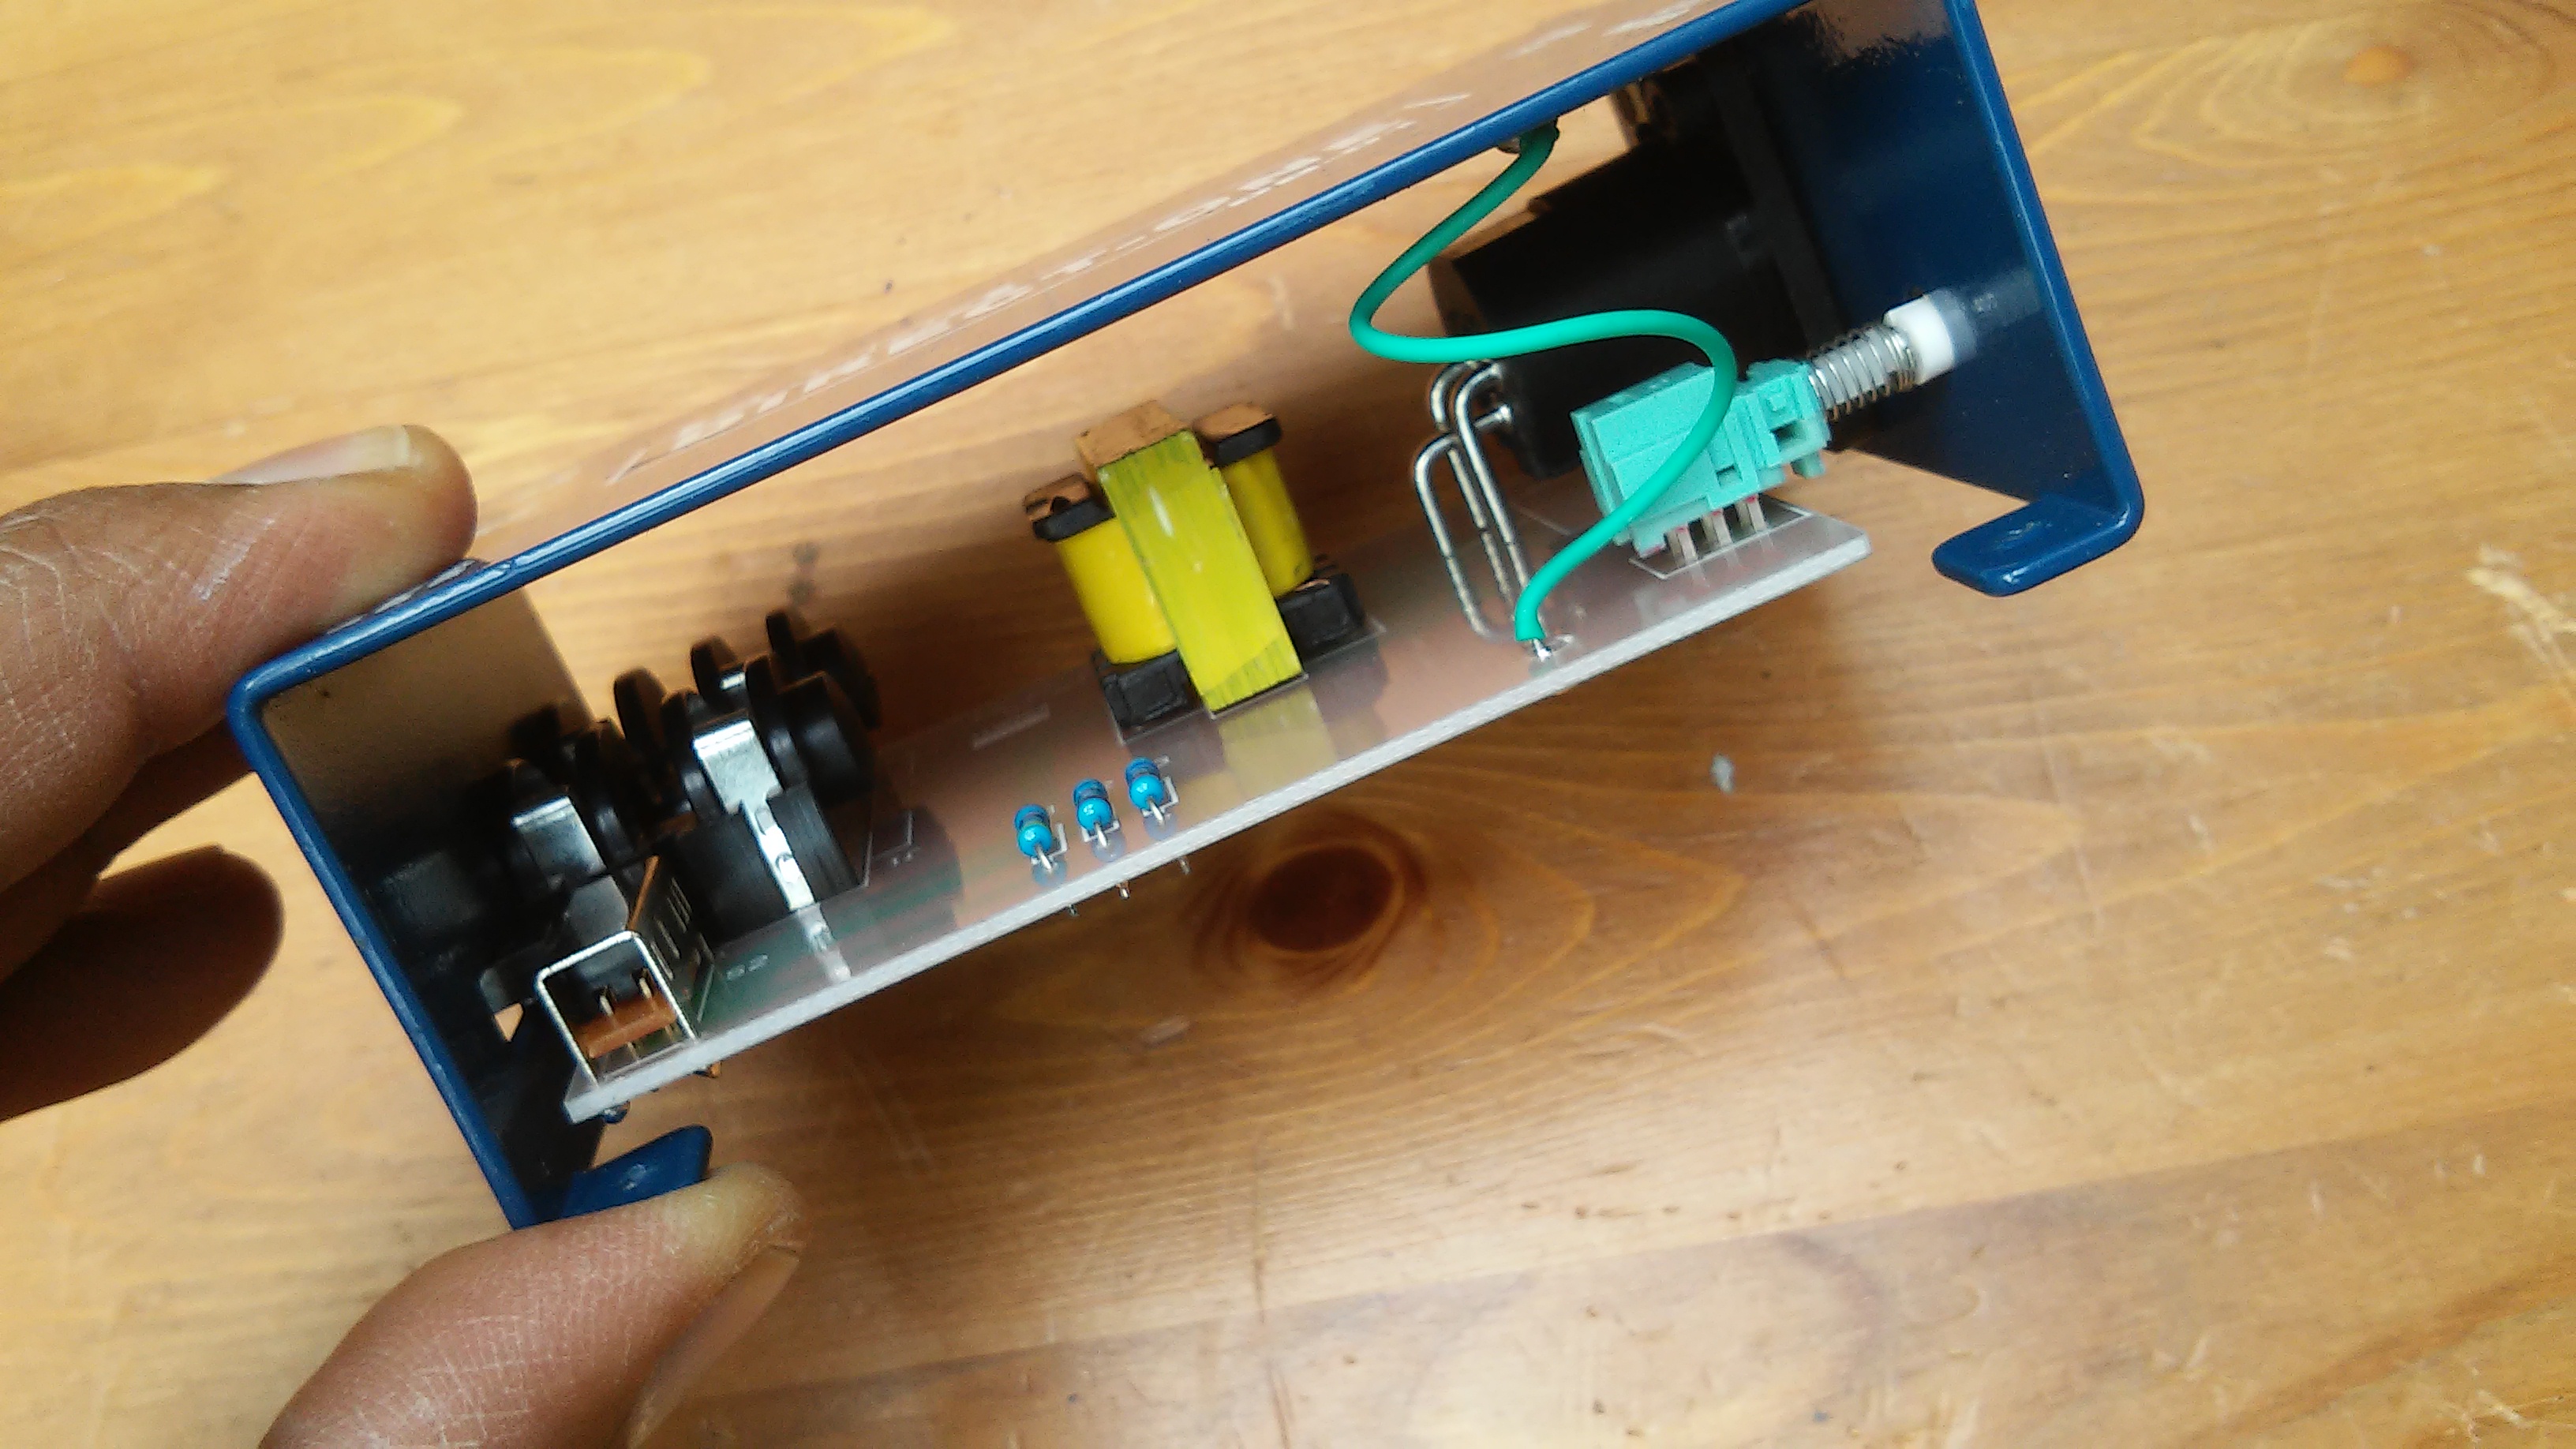
Whilst doing my research I noticed there were a number of cheap passive DI boxes out there, and I’m guessing the reason they were so cheap was because they used a poor quality transformer, so rather than build a box from scratch, why not just upgrade a cheap one? I found this Cobra DI box on EBay, it only cost £9.95 (+£2.95 p&p) but comes in a metal case with pad and ground lift circuitry and a thru jack. Perfect as a donor, all I needed was a transformer.

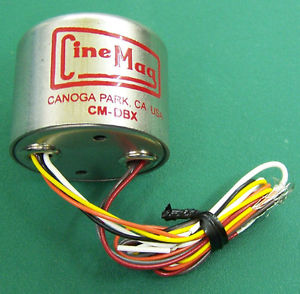
I went for this Cinemag CM DBX (EBay £64.99)
Good alternatives include:
Jensen JT-DB-E/EPC (as used in the Radial JDI)
Lundahl LL-1530, LL-1576/77/78
Sowter 4243, 8044
The Cinemag website includes schematics for a DI circuit using their transformer, comparing this to the COBRA DI box there were a few components missing but I thought I’d wire it up as a direct replacement for the existing transformer first and then see if there were any issues.
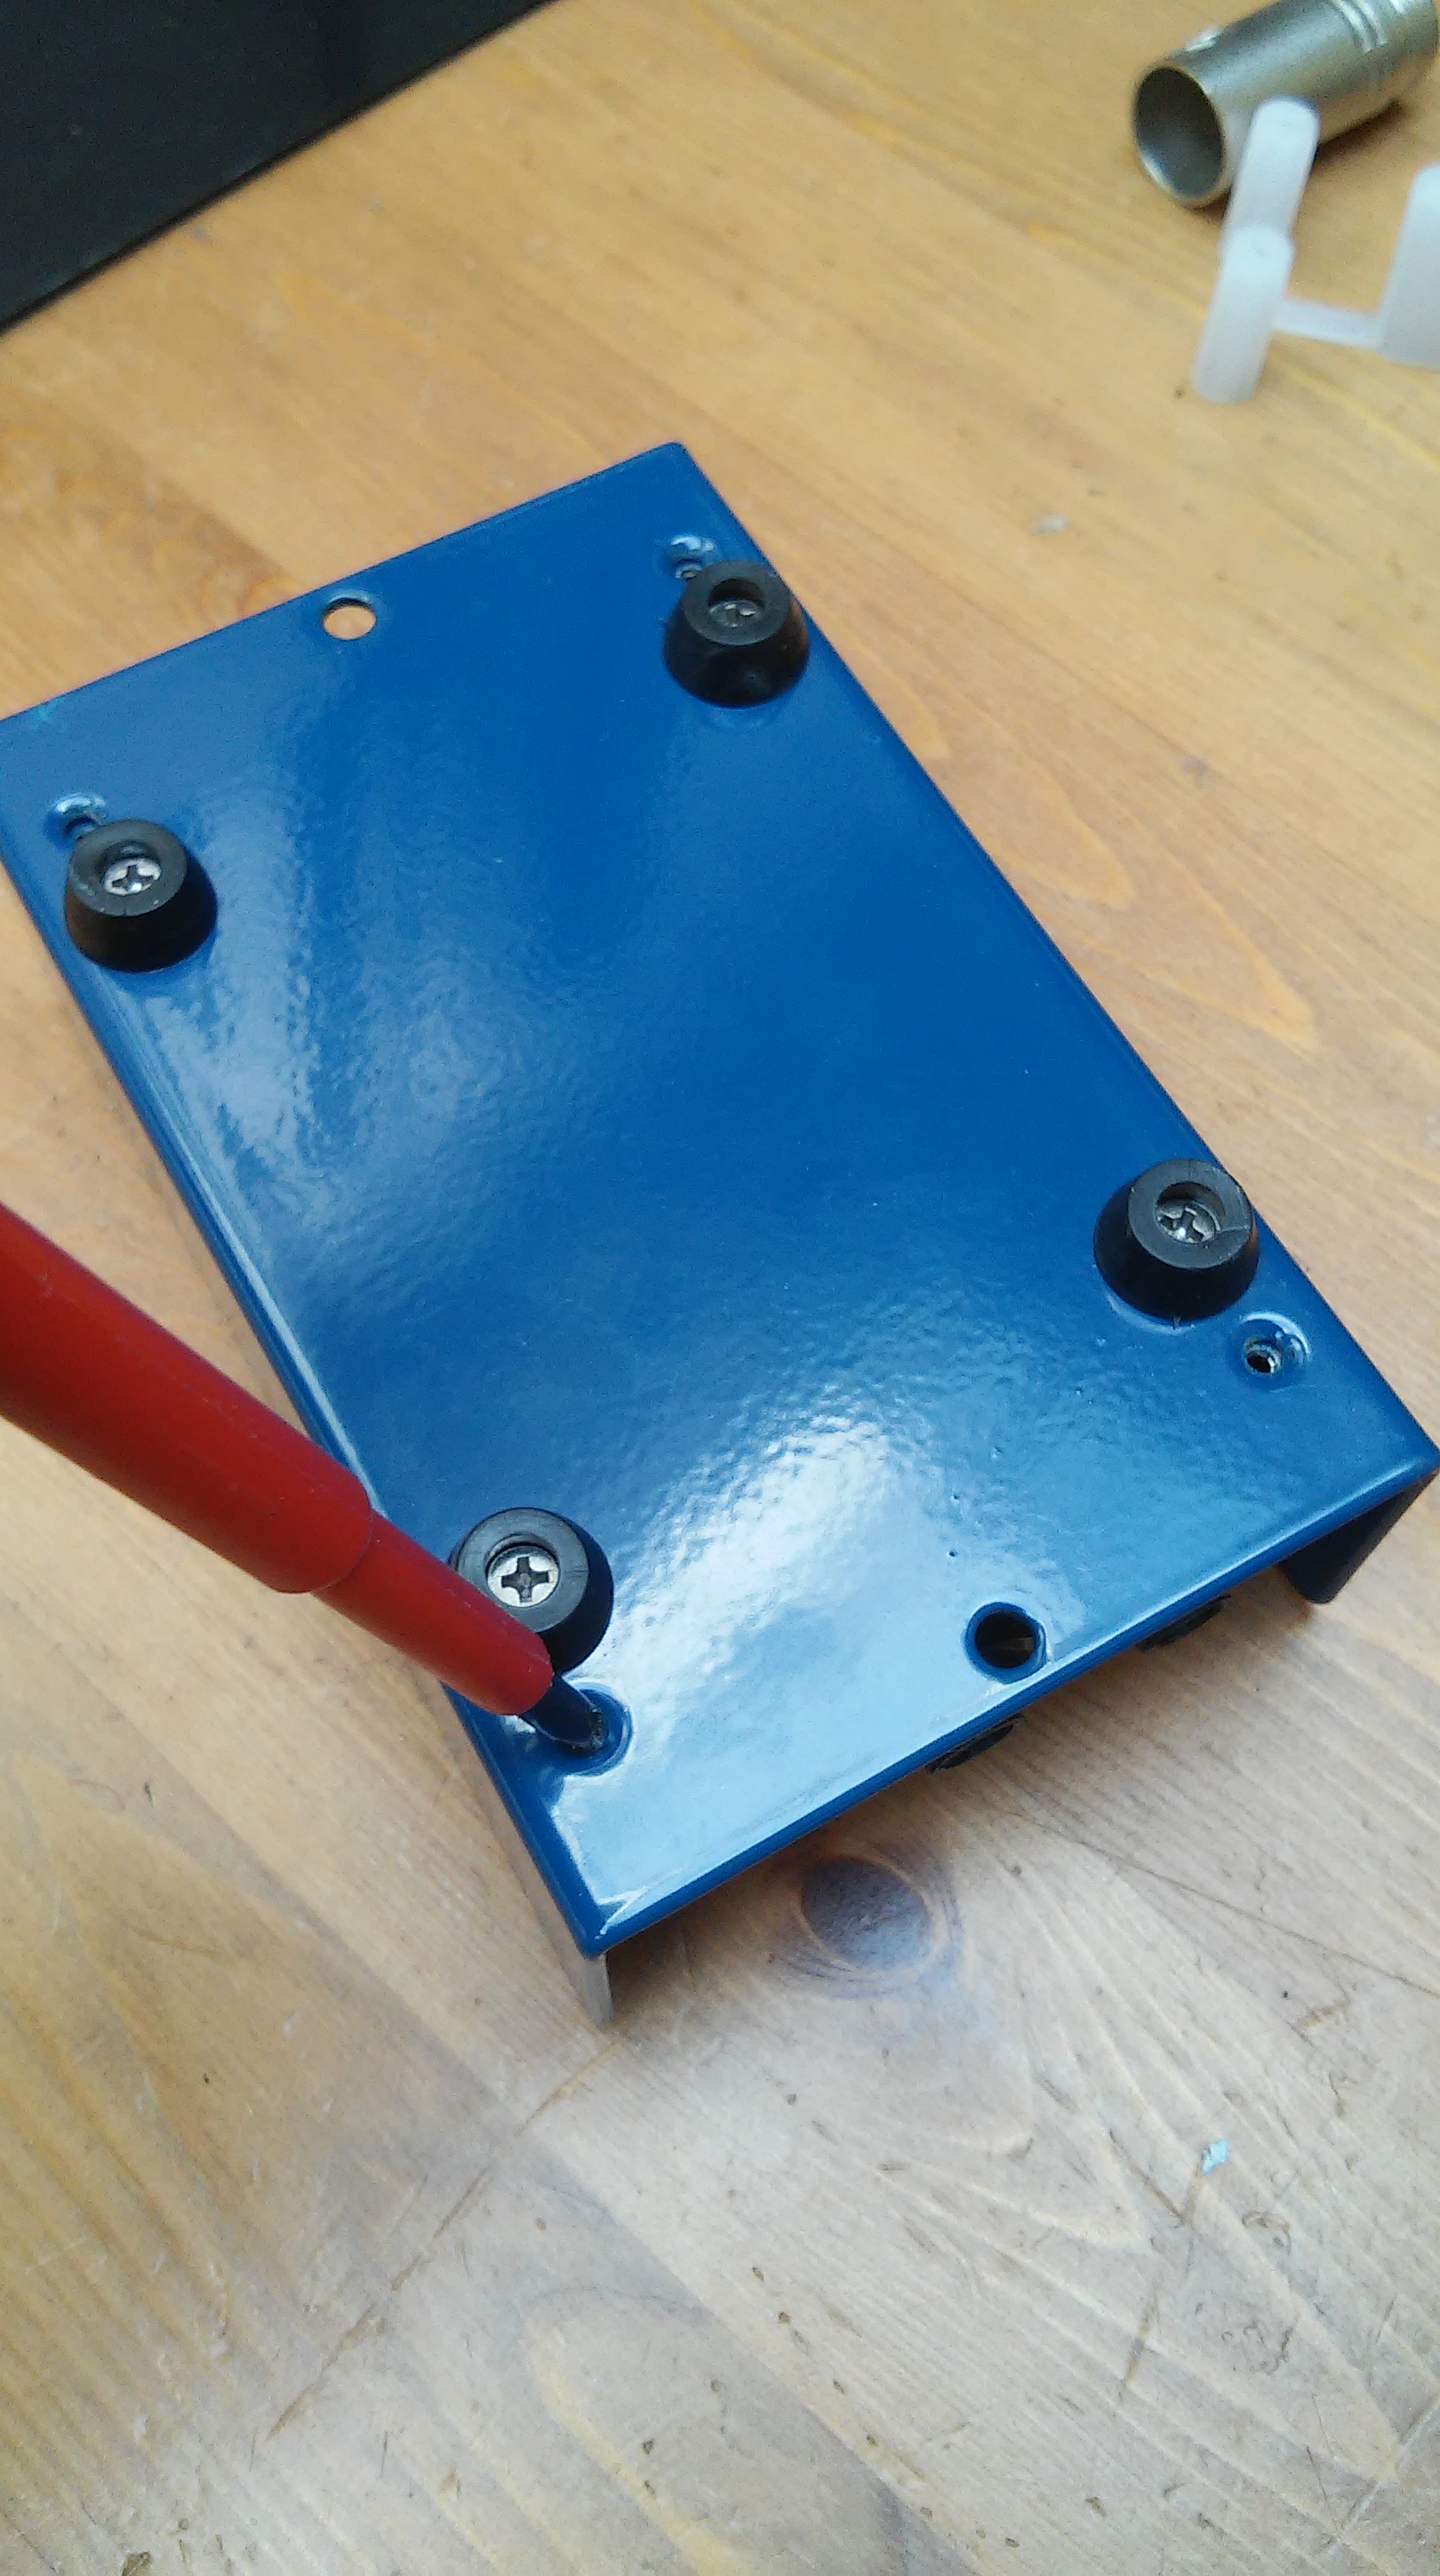
Firstly, open up the COBRA DI box by unscrewing the 4 retaining screws on the base.
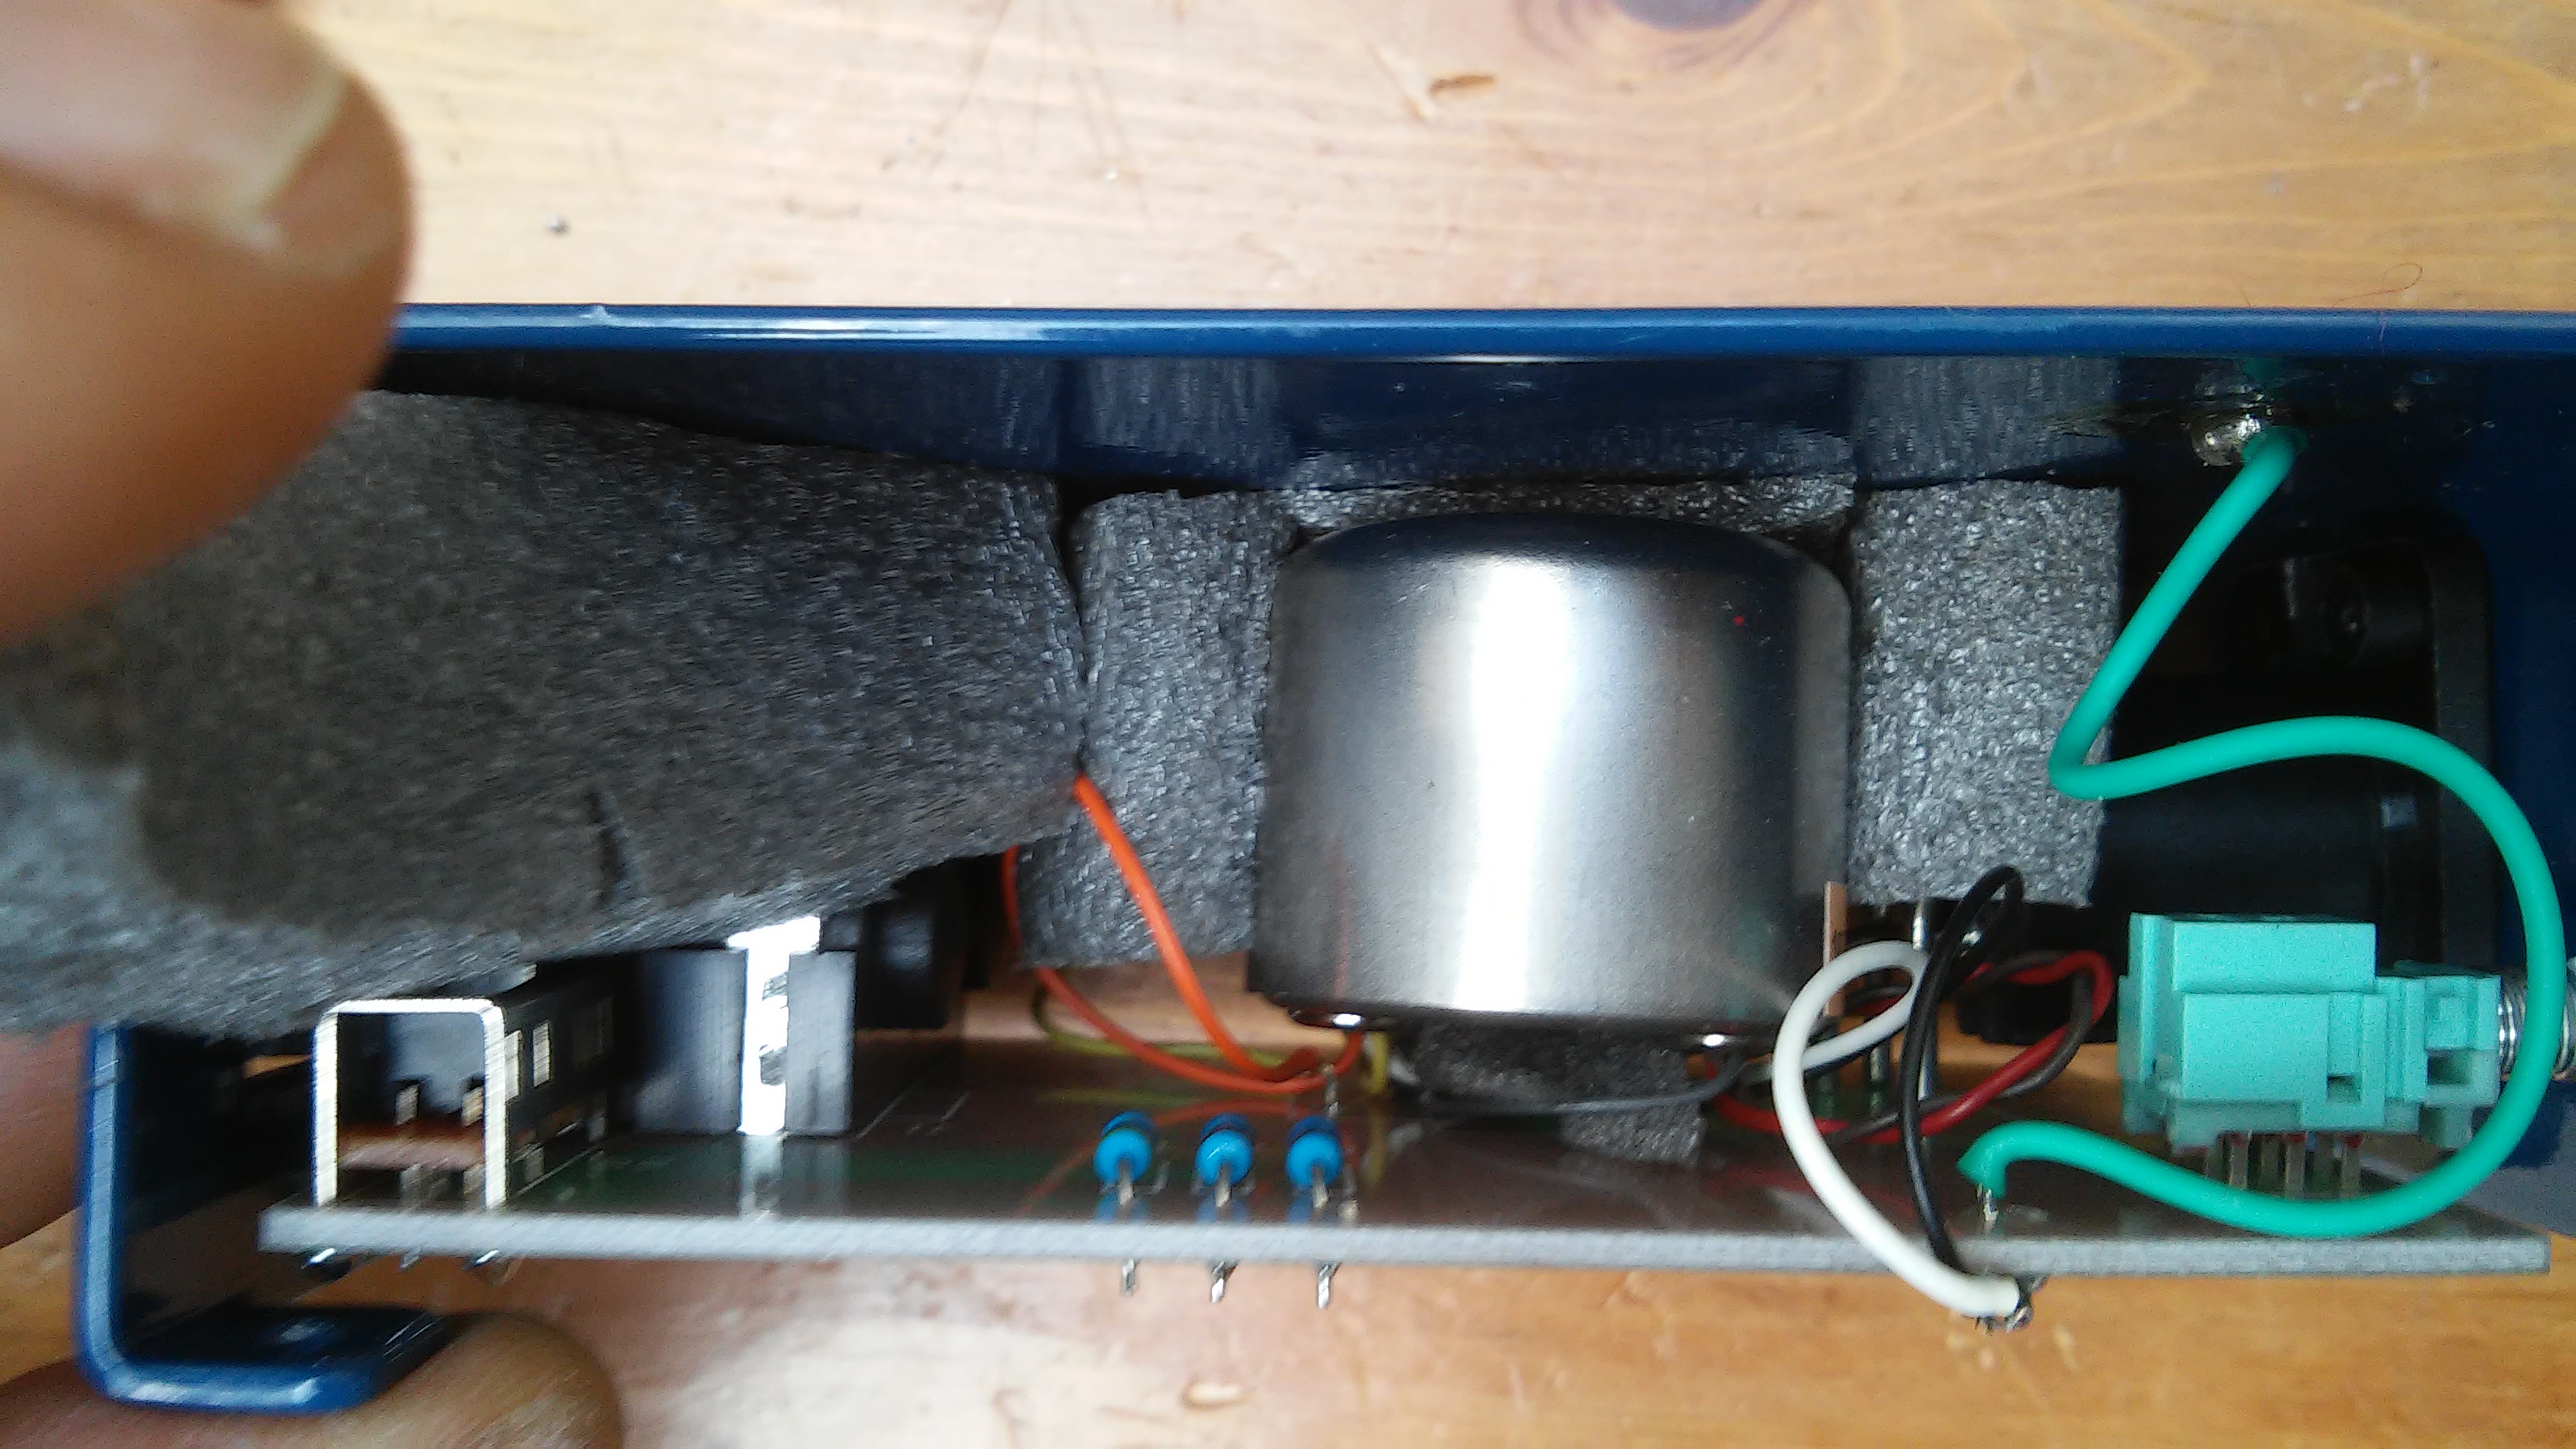
With the cover removed you can see the simple and robust construction, the original transformer is through-hole mounted on the PCB.
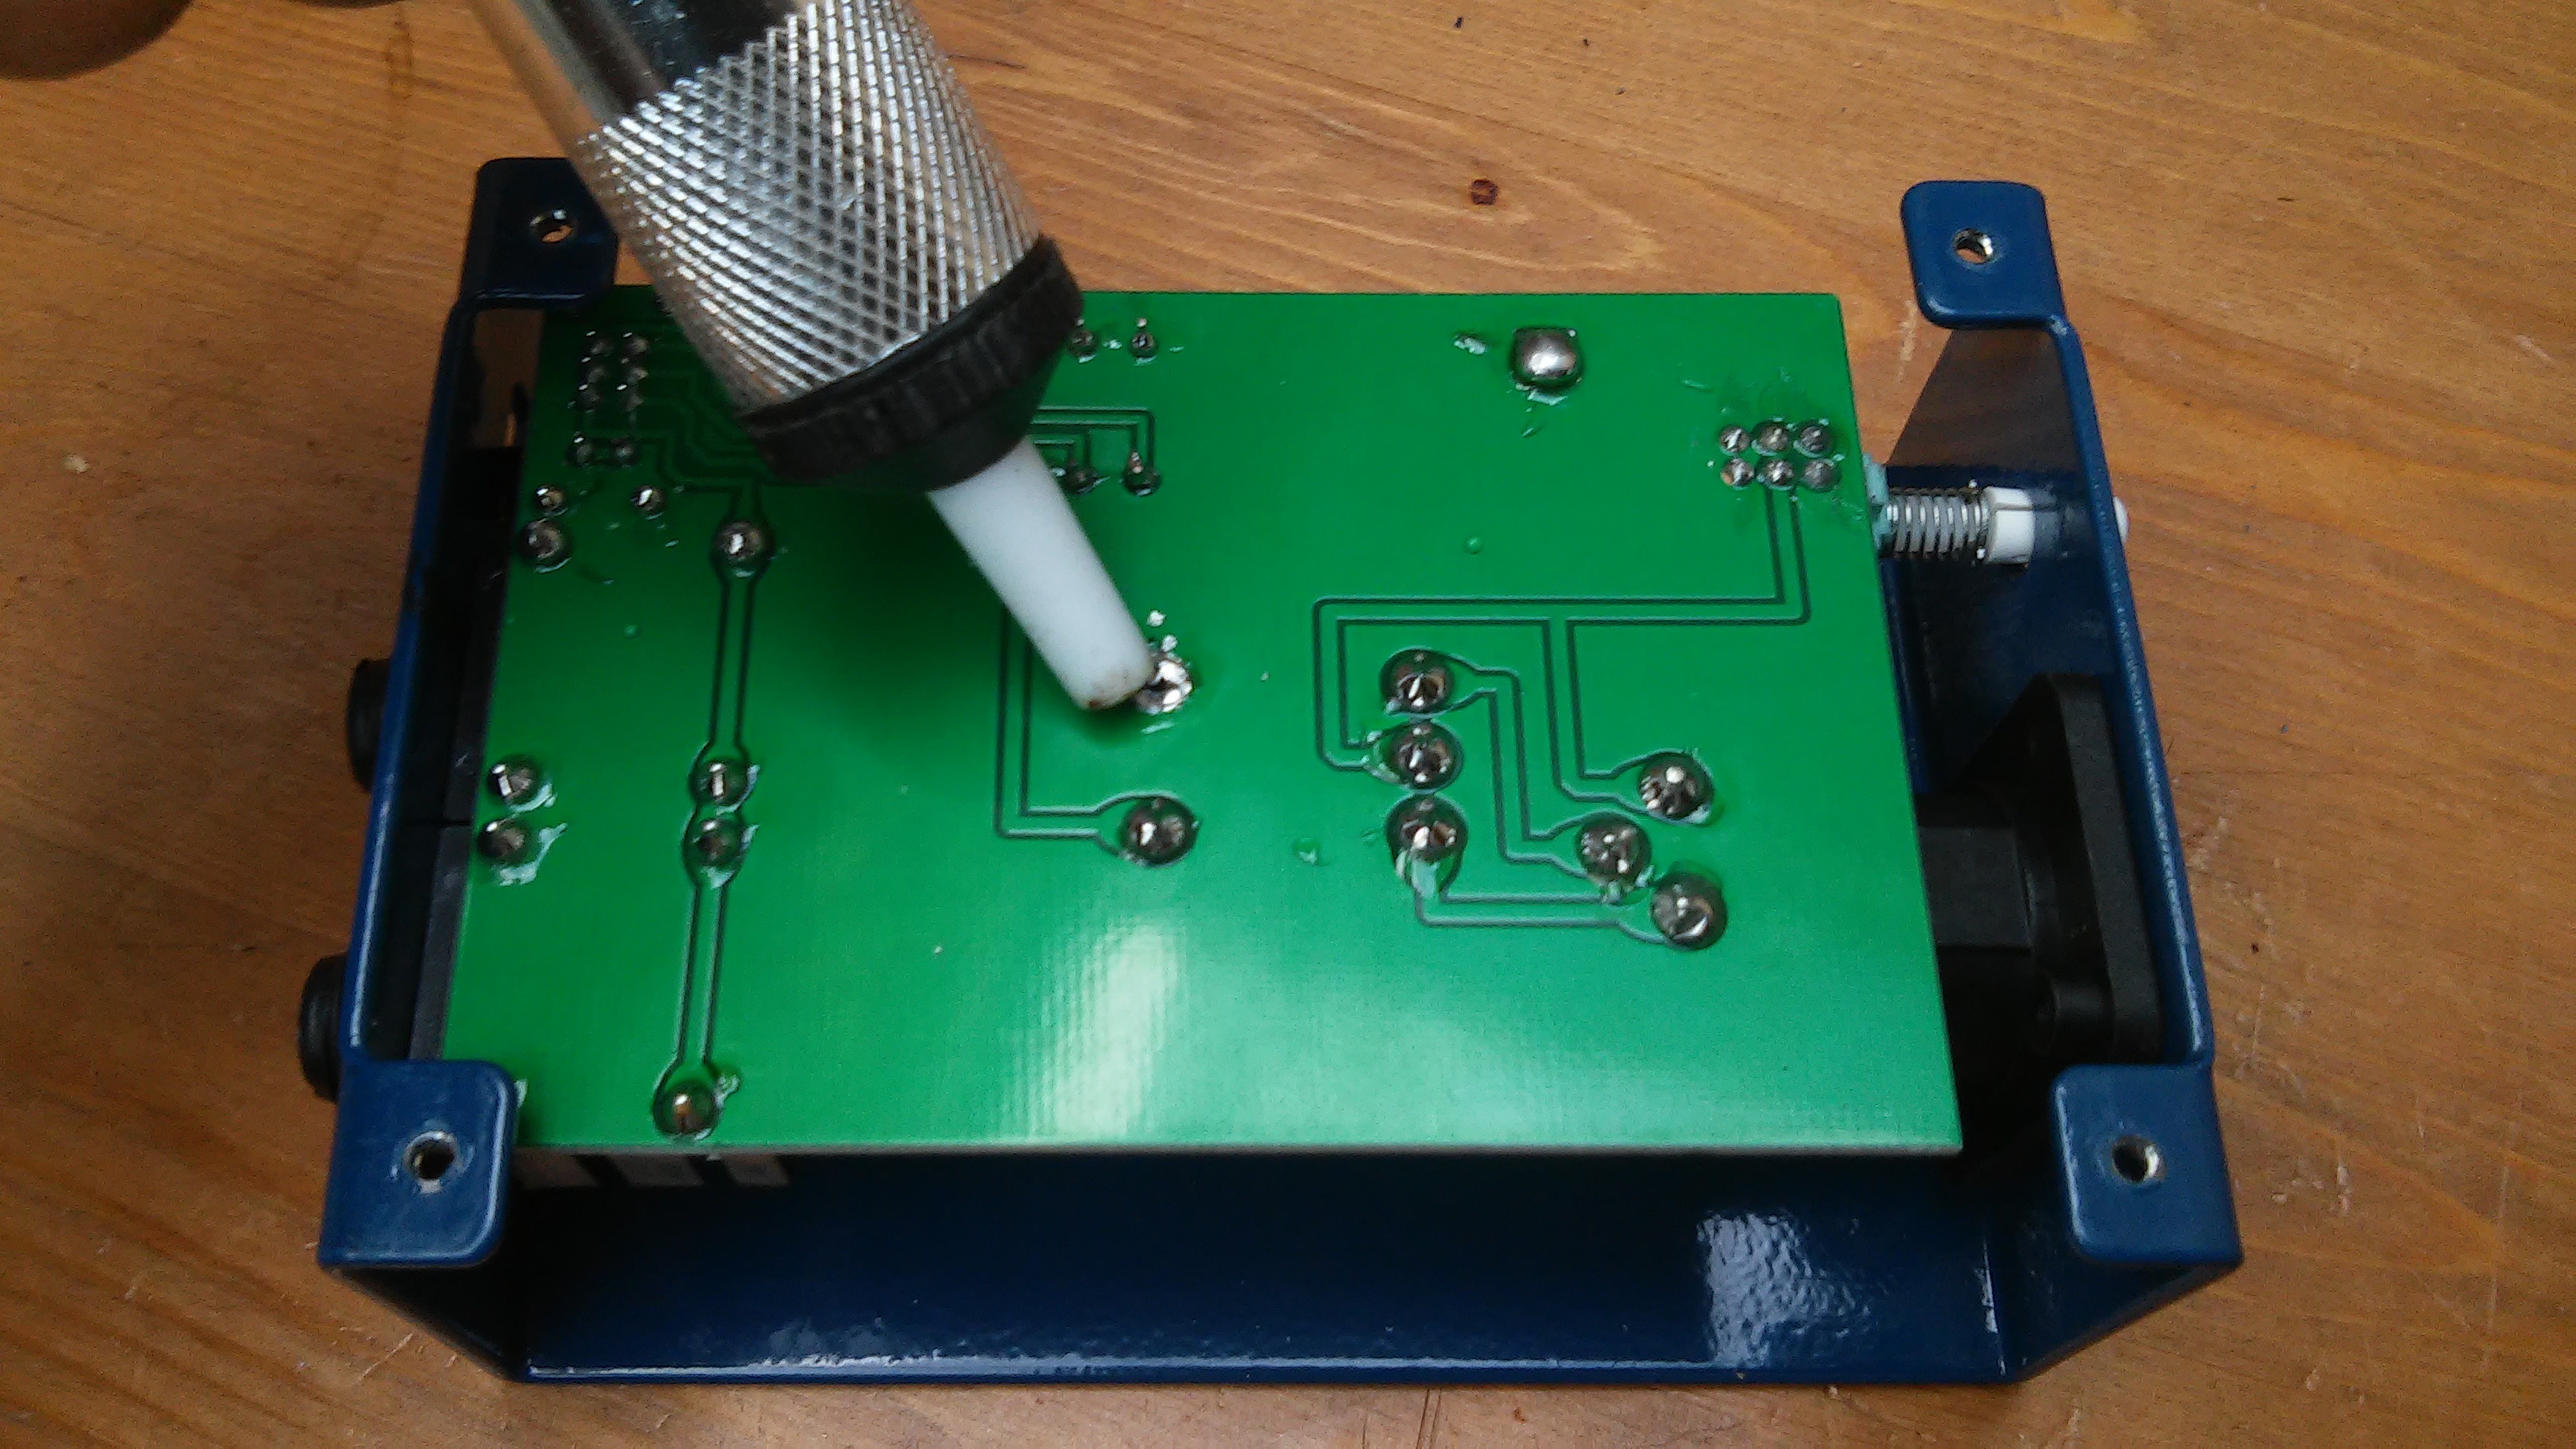
Flipping the box over and working with a solder sucker, remove the original transformer.
You can see the obvious differences between the original and upgrade transformer, the mu-metal can for shielding, but the Cinemag also has individual shielding for each winding and will use better quality wires and laminations.
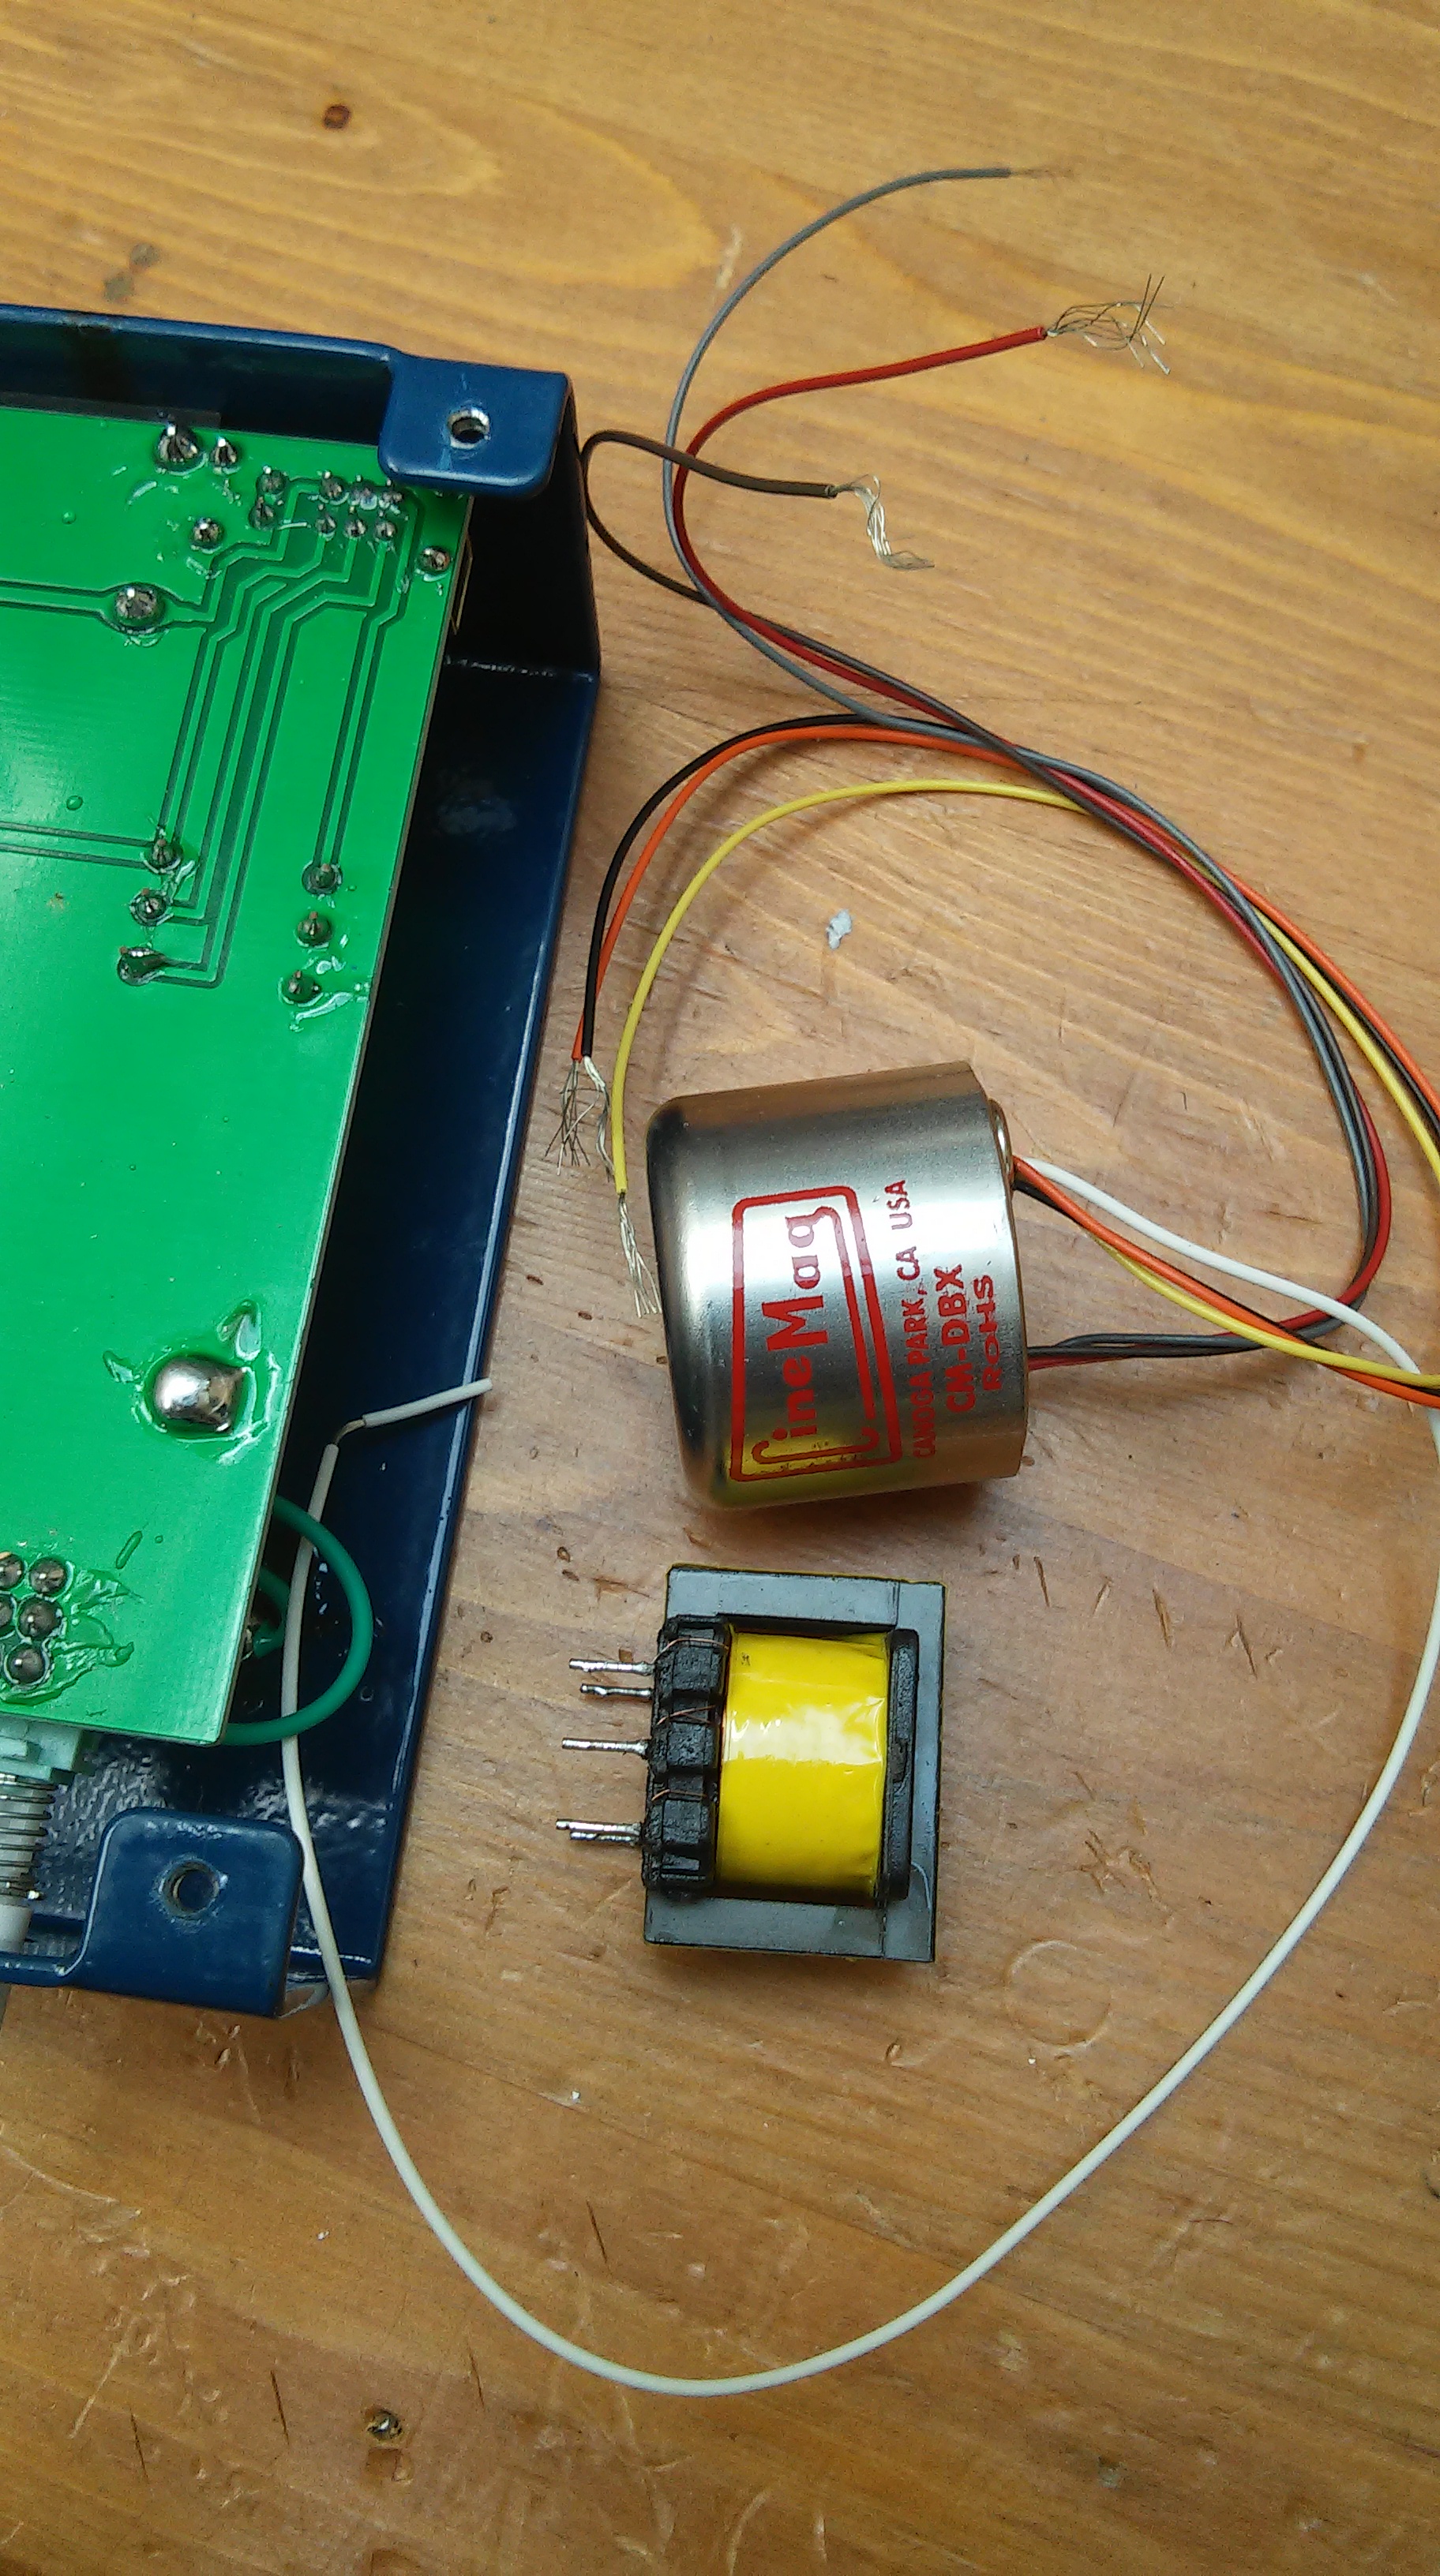
I soldered the Cinemag wires into the existing PCB holes following this wiring scheme:
- Yellow – Input Tip
- Orange, Black, White – Input Sleeve (PCB ground)
- Gray – XLR 1
- Red – XLR 2
- Brown – XLR 3
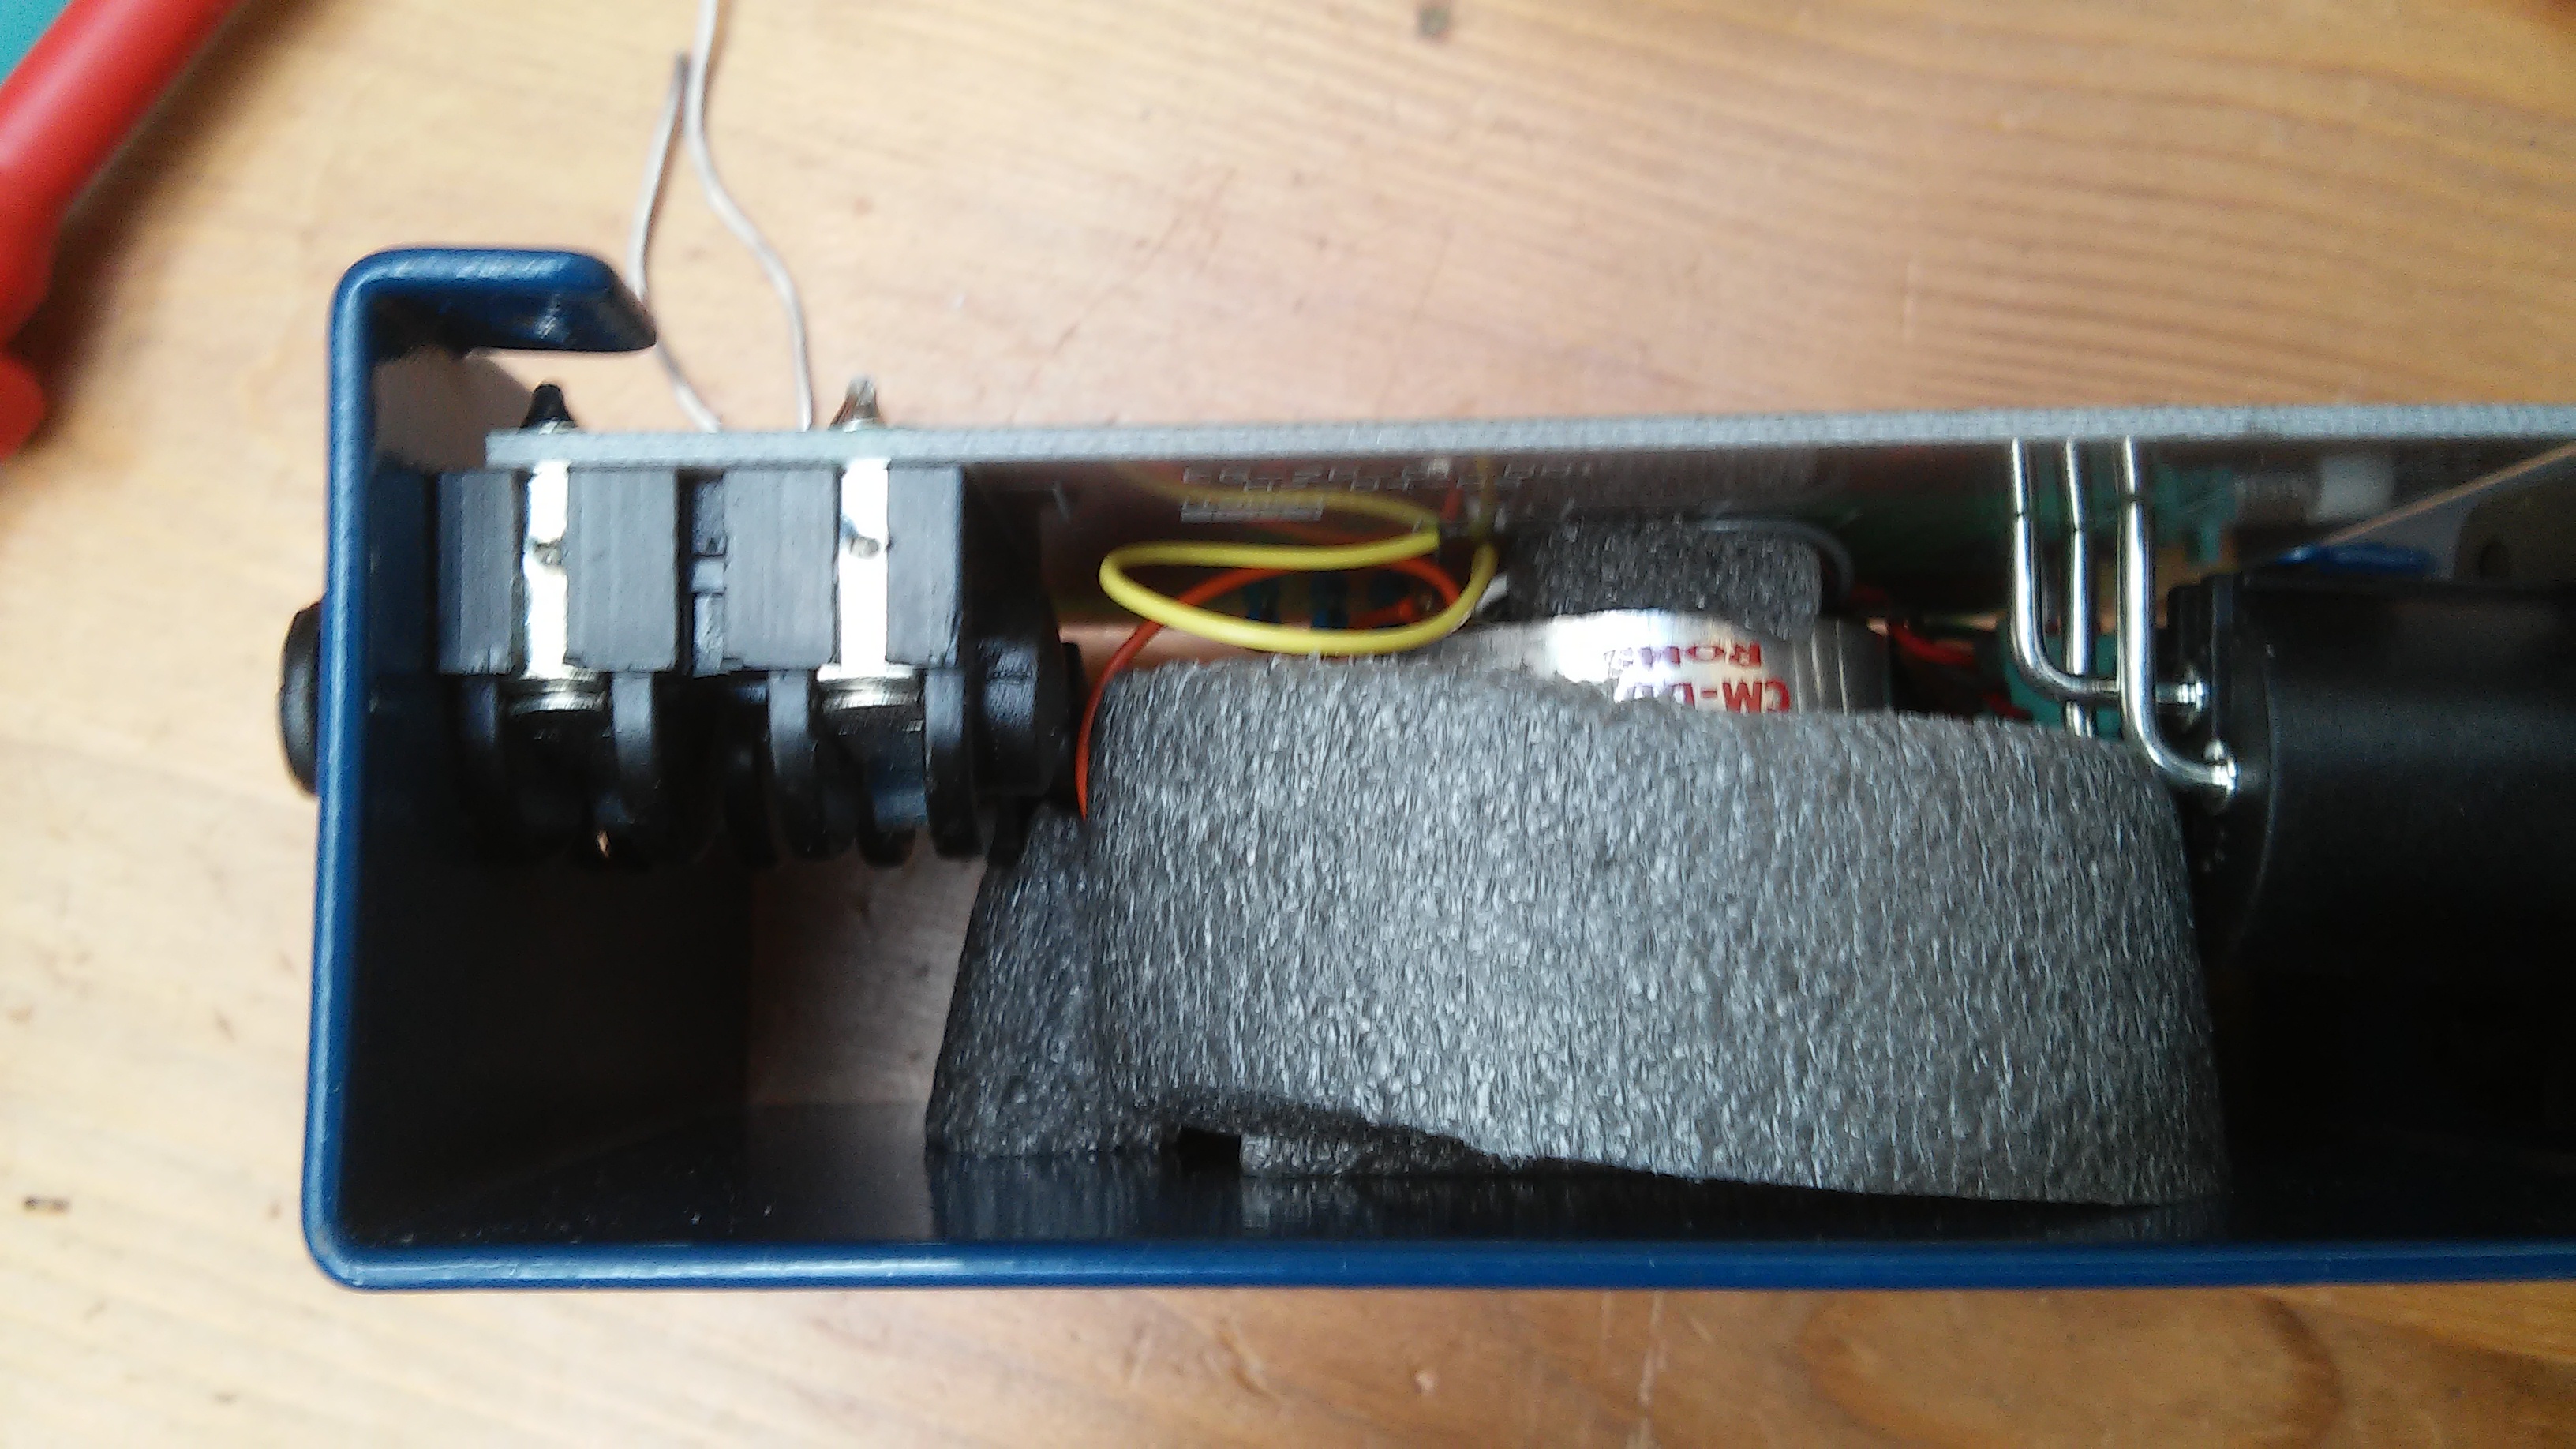
I tested this configuration and it worked fine, but I noticed that in the Cinemag schematics they wire only the white cable to case ground (not the black and orange too), so I modified the wiring slightly such that black went to the PCB ground and white connected to the case via the existing green cable.
I will admit that I was feeling lazy and didn’t fancy drilling the case or the PCB to mount the transformer, so instead I used cut up neoprene pipe insulation to snuggly hold the transformer in place between the case and PCB. Once the case is on the transformer isn’t going to move anywhere and there is no strain on the connectors.
And that’s it, job done, a very simple and quick route to getting a high quality passive DI box on a budget.

Exactly what I intend to do,I bought a cheap plassive di and sowter transformer for only 100$.
Did the schematic of PCB as the schematic recommended by Cinemag ?
Yes, the schematic for a DI is very simple and the circuit board in the donor unit was well designed