
I’ve been interested in the use of convolution reverbs for a while, and was particularly inspired listening to this interview with Nikolay Georgiev by Lij Shaw for his brilliant Recording Studio Rockstars podcast series. During the interview Nikolay explains how he has fine-tuned his process of capturing the acoustics of a space using a mobile recording rig and various means of generating an impulse (including sine sweeps, a starter pistol and bursting inflated condoms!)
The basic concept is simple enough, excite the space with a burst of acoustic energy and record the resulting response. The recorded audio is an acoustic signature of that space which can be applied to any other sound through the process of convolution (literally ‘folding’ the sounds together).
There are two ways of performing this process, the first is the method I will explore in this blog post, using a balloon popping or other short loud burst of sound to approximate an impulse. This is the easiest method as the recorded file can be used directly in the convolution plug-in. The other method involves recording a sine sweep played back through a speaker into the space. The resultant recording needs to be de-convolved to create the impulse response. Although both methods are widely used, the sine sweep is considered better and there are some very good reasons why, but in practical terms you can still achieve great sounding results using a bursting balloon although it may not offer the most accurate representation of the space.
It was my sons 10th birthday the other day, and whilst clearing up the aftermath I found myself with a whole load of inflated balloons that needed disposing of. Perfect, I remembered I wanted to try recording some impulse responses, and this would be a great way to give it a go. I thus equipped myself with the following items:
- Inflated party balloons (the round ones, not the sausage-type)
- a pin
- a Tascam DR-70D
The Tascam is a handy portable recorder that can capture up to 4 simultaneous tracks in uncompressed high quality format, with the added bonus of having 2 built-in small diaphragm condensor mics . You could equally use a computer soundcard and one or two mics.
One of the spaces I was going to capture was a small stairway that runs along the back wall of our house. I have previously had some good results using the corridor for re-amping drums , placing a mic there and playing back sampled drums into the space to add ambience.
The lower part of the stairway has a sloping ceiling which gives a bit of a flutter echo.

The upper stairs has dense, bassy sound to it.

I also wanted to try capturing the bathroom downstairs, it’s about 2m x 2m square, completely tiled floor and walls with a textured ceiling, and is quite reverberant.

The recorder was mounted on a mini-tripod and sat about 6 inches off the floor for the stairway capture, and on the window ledge for the tiled bathroom. One of the pitfalls I encountered in capturing the impulse response was that the initial pop of the balloon is very loud compared to the resulting echos and can result in clipping in the recorder. It took a few goes to get the levels just right, but once set the actual process was very simple: hit record, hold the balloon up and prick it with a pin. I didn’t experiment a great deal with the effects of location, but I generally had the balloon above the recorder when I burst it.
Post-processing was very simple. I trimmed the impulses such that they started just before the initial transient and then faded them out shortly afterwards. I used Audacity but any DAW or editor will do the job. Once edited, just export them as wav or aiff files ready to load into the convolution plugin of your choice.

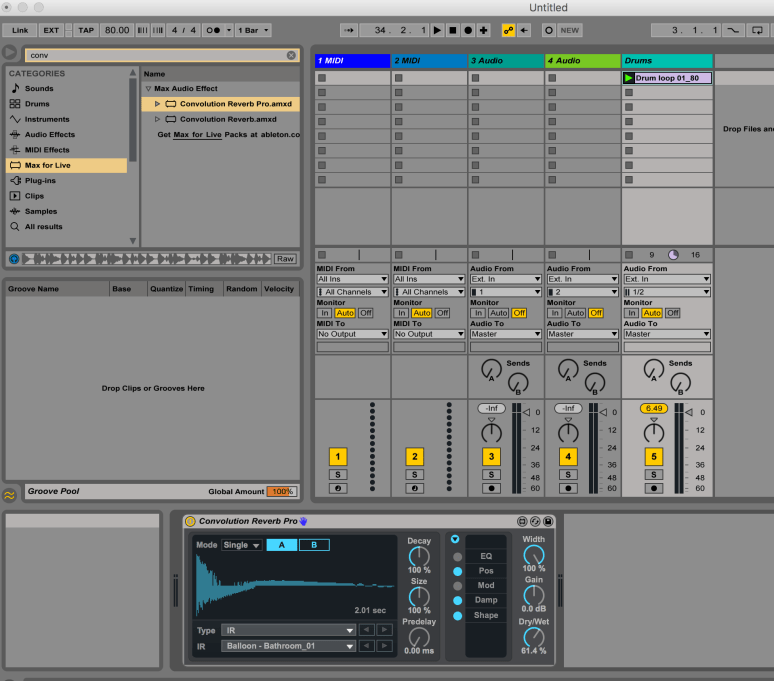
I used the Convolution Reverb Pro device in Ableton Live Suite (it’s a Max for Live device), I like this plug-in as you can just drag and drop the IR file from finder to the device, but it’s pretty simple to do this with Space designer in Logic Pro or Waves IR-1 for examples of other convolution plug-ins.
Once loaded into the convolution plugin, simply pass audio through it and hear how it sounds.
To demonstrate I’ll use a simple drum loop, here it is dry:
Now 100% wet with the ‘Stairway 1’ IR:
I like the nice low-end thump to that particular reverb
With 100% wet ‘Stairway 2’ IR:
This one is a bit more present and in your face.
With 100% wet ‘Bathroom 1’ IR:
This one has a splashy, hard character.
Notice how the character of the space is imparted on the loop. By adjusting the wet dry blend you can easily dial in as much or as little of the ambience as you like.
Another thing you can do is mess with the actual impulse response to change the character of the reverb. For example, here is the ‘Bathroom 1’ IR where I’ve altered the envelope of the sound using volume curves in Audacity:
With 100% wet ‘Bathroom 1 Processed’ IR:
It gives it a more non-linear type of sound.
You can also apply other processing to the IR’s to create more complex and interesting effects, here is an example where the same IR has been passed through a phaser, envelope filter and finally high passed:
Although there are lots of ways you can refine the process, and there are further subtleties involved that I haven’t explored here, I was surprised how easy it was to capture the reverbs and use them pretty much straight away. I’m looking forward to getting out and about and sampling some more interesting spaces, there’s an old railway bridge near where I live that has a cool echo that I’d like to capture. So if you see a bloke with a balloon hanging out around tunnel entrances, it’s probably just an audio geek capturing impulse responses…
